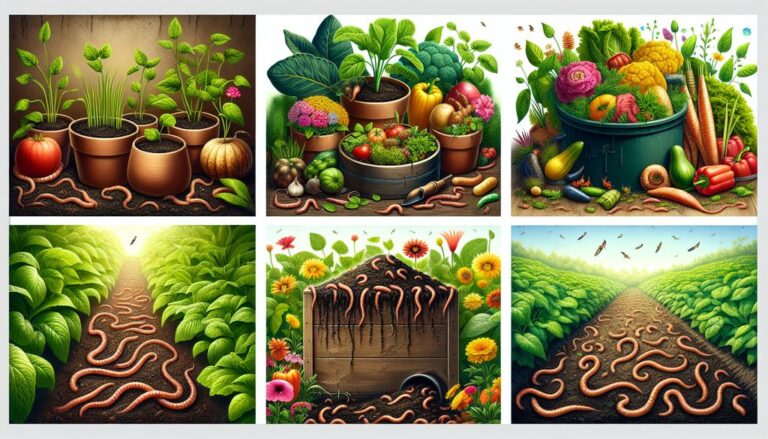
Vermiculture, also known as worm composting, is a sustainable and eco-friendly way to turn food waste and shredded paper into nutrient-rich compost for your garden. In this step-by-step guide, you will learn how to get started with vermiculture, harvest and use vermicompost, and troubleshoot common issues. Let’s dive in and explore the world of vermiculture!
Key Takeaways
- Choose a suitable worm bin for indoor vermiculture.
- Maintain a healthy environment in the worm bin by providing the right conditions for the worms.
- Use finished vermicompost to fertilize your plants and reduce the need for chemical fertilizers.
- Prevent common issues such as odor and pests by following proper vermiculture practices.
- Connect with the vermiculture community for valuable tips and support.
Getting Started with Vermiculture
Choosing the Right Worm Bin
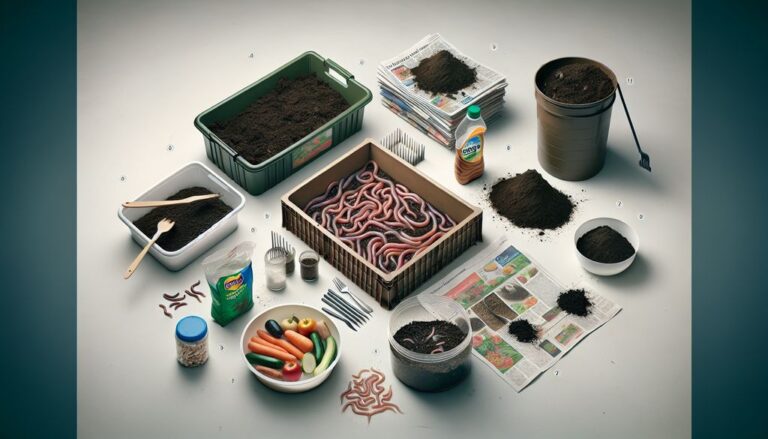
Selecting the appropriate worm bin is a crucial first step in your vermiculture journey. The ideal bin creates a comfortable environment for the worms and is convenient for you to maintain. There are various types of bins to consider, such as wooden boxes, plastic Rubbermaid containers, and specialized worm farm systems. Each has its pros and cons, and your choice will depend on factors like space, budget, and how much effort you’re willing to put into managing the compost.
- Wooden boxes are traditional and breathable but may require more maintenance to prevent rot.
- Plastic bins are affordable and easy to clean but need proper aeration to prevent odors.
- Stacking systems facilitate easier compost harvesting but can be more expensive.
When considering a bin, think about ease of use, especially when it comes to separating worms from compost. Innovations like the "Worm Swag" bag offer a flow-through system, which can simplify this process by allowing you to add food scraps at the top and harvest compost from the bottom without disturbing the worms.
Ultimately, the best worm bin is one that suits your lifestyle and vermiculture goals. Take the time to assess your needs and research the options available to ensure a successful and enjoyable vermiculture experience.
Setting Up the Worm Bin
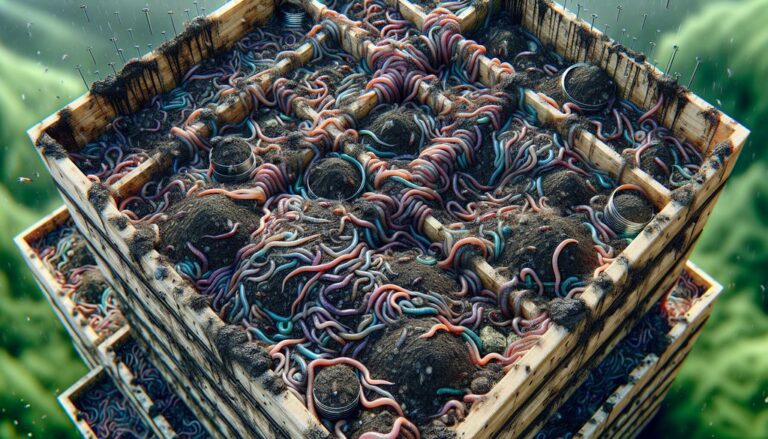
Once you’ve chosen your worm bin, setting it up correctly is crucial for a successful vermiculture system. Start by placing a layer of moistened bedding material such as shredded newspaper, cardboard, or coconut coir at the bottom of the bin. This will provide a comfortable environment for the worms to live and breed.
Next, introduce your red wiggler worms to their new home. It’s important to ensure that the bedding is neither too wet nor too dry, as extreme conditions can be harmful to the worms. A good rule of thumb is to have the bedding feel like a wrung-out sponge.
Here’s a simple checklist for setting up your worm bin:
- Moistened bedding material at the bottom
- Add red wiggler worms
- Ensure proper moisture level
- Place the bin in a suitable location, avoiding extreme temperatures
Remember, the location of your worm bin can greatly affect the health of your worms. Keep it in a place with consistent temperature and away from direct sunlight.
After setting up, cover the bedding with a few inches of soil to help the worms acclimate and start the composting process. With these steps, your vermiculture journey is well on its way!
Feeding and Maintaining the Worms
Feeding your worms the right kind of scraps is crucial for a healthy vermiculture system. Worms thrive on a diet of vegetarian leftovers, such as wilted lettuce, stale bread, coffee grounds, and fruit and veggie peelings. It’s important to avoid meat, oily foods, citrus, and overly rotten materials to prevent unpleasant odors.
When adding food, spread it about 1 inch thick at the top of the bedding. After feeding, a layer of shredded paper on top helps maintain balance and prevents the bin from becoming anaerobic and smelly. Periodically moisten this layer to keep the environment ideal for your worms.
Keep the worm bedding as moist as a wrung-out sponge to provide the perfect habitat for your worms.
Here’s a simple guide for maintaining your worm bin:
- Add food scraps: Aim for a 1-inch layer of vegetarian waste.
- Layer with shredded paper: This helps with odor control and adds more ‘brown’ material.
- Moisten the bedding: Ensure it’s damp but not dripping, similar to a wrung-out sponge.
- Aerate the bin: Gently turn the bedding occasionally to provide oxygen.
For a supportive community and more tips, consider joining forums like vermicomposters.com.
Harvesting and Using Vermicompost
Harvesting the Compost
Harvesting your vermicompost is a rewarding experience, marking the culmination of your efforts and your worms’ hard work. After a few weeks, you’ll be ready to collect the fruits of your labor. Open the bottom of your worm bin by loosening any closures, such as a cord stop, to let the compost fall out. You may need to gently squeeze or tap the bin to encourage more compost to come out.
When you notice uncomposted material or worms in the compost you’re harvesting, it’s time to stop. These should be returned to the top of the bin to continue the composting process. Patience is key; if you find too many unprocessed bits, give your bin a few more weeks before trying again.
The vermicompost you harvest can be used immediately or stored for later use. Here’s a simple guide to help you use your vermicompost effectively:
- For houseplants: Sprinkle a thin layer on the soil surface.
- In the garden: Mix it into the top few inches of soil or use it as a side dressing for plants.
- For seedlings: Create a gentle mix with potting soil to give your young plants a nutrient boost.
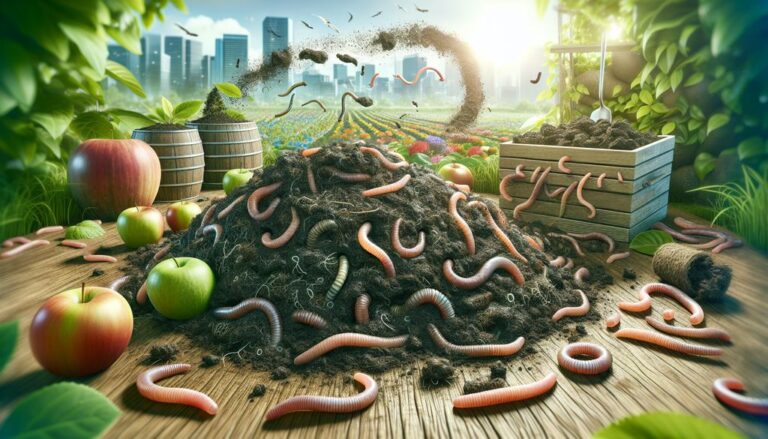
Remember, vermicompost is a powerful organic fertilizer that can replace chemical options, providing your plants with a rich source of nutrients.
Using Vermicompost in Your Garden
Once you have harvested your vermicompost, it’s time to enrich your garden. Vermicompost is a powerful organic fertilizer that can be used in a variety of ways to improve soil health and boost plant growth. Here’s how to use it effectively:
- Top Dressing: Simply sprinkle a thin layer of vermicompost on top of the soil around your plants. This method is especially beneficial for potted plants and garden beds.
- Soil Amendment: Mix vermicompost into the soil before planting new seeds or transplants to provide a nutrient-rich environment for root development.
- Tea for Plants: Steep some vermicompost in water to create a ‘compost tea’, which can be used as a liquid fertilizer for both indoor and outdoor plants.
Remember, a little goes a long way with vermicompost. Start with small amounts and observe how your plants respond before adding more.
Using vermicompost not only nourishes your plants but also contributes to a sustainable cycle of waste reduction. By diverting food scraps from landfills, where they would release methane, you’re making a positive impact on the environment. Enjoy the fruits of your labor and the knowledge that you are gardening in an eco-friendly way.
Troubleshooting and Tips
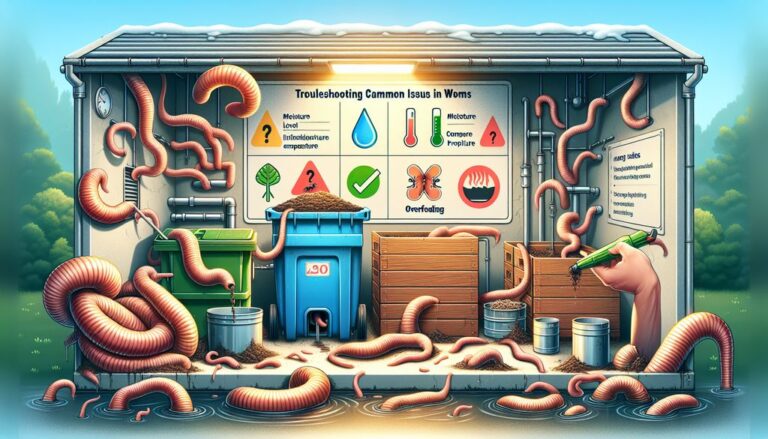
Preventing Common Issues
Vermiculture is an exciting journey, but like any new endeavor, it can come with its share of challenges. Preventing common issues is key to maintaining a healthy worm bin. One effective strategy is to ensure a balanced environment by adding a layer of shredded paper after feeding the worms. This not only aids in composting but also helps to prevent the bin from becoming anaerobic and emitting unpleasant odors.
Maintaining the right moisture level is crucial. Worms thrive in moist conditions, so it’s important to periodically sprinkle water on top of the shredded paper to keep the bin from drying out.
Feeding your worms the right kind of waste is also essential. Here’s a quick list of do’s and don’ts:
- Do feed them: vegetable peelings, apple cores, melon rinds, corn husks, and non-meat animal manure.
- Don’t feed them: meat, oily foods, citrus, or overly rotten materials, as these can create a stink and disrupt the bin’s balance.
Remember, a little attention goes a long way in preventing issues and ensuring your vermiculture project is successful.
Tips for Successful Vermiculture
Embarking on your vermiculture journey can be both exciting and rewarding. To ensure success, it’s crucial to follow some key tips. Regularly check the moisture level in your worm bin; it should feel like a wrung-out sponge. If it’s too dry, add water; if too wet, add dry bedding material.
Avoid overfeeding your worms. Start with small amounts of food scraps and gradually increase as you observe how quickly they are processed. Remember, worms can eat about half their weight in food per day. Here’s a simple guide to what you can feed your worms:
- Fruit and vegetable scraps (avoid citrus and onions)
- Coffee grounds and filters
- Tea bags (remove staples)
- Crushed eggshells
- Shredded paper (non-glossy)
To maintain a healthy worm bin, balance nitrogen-rich food scraps with carbon-rich bedding materials like shredded paper or cardboard.
Lastly, be patient and observe your worms’ behavior. They are excellent indicators of the bin’s health. If they seem agitated or are trying to escape, check for issues with moisture, pH, or temperature. With care and attention, your vermiculture system will thrive, providing you with rich compost for your garden.
Conclusion
In conclusion, starting your vermicomposting journey is a rewarding and eco-friendly way to manage food waste and create nutrient-rich compost for your plants. With the right tools and techniques, you can easily turn food scraps and shredded paper into valuable fertilizer while reducing your environmental impact. By following the step-by-step guide for beginners, you can embark on this sustainable practice with confidence and contribute to a greener, healthier planet. Happy vermicomposting!
Frequently Asked Questions
What is vermicomposting?
Vermicomposting is the process of using worms to decompose organic food waste, turning it into nutrient-rich compost for plants.
What type of worms are used in vermiculture?
Red worms (Eisenia fetida) and red wigglers (Lumbricus rubellus) are the most commonly used worms in vermiculture.
How do I set up a worm bin for vermiculture?
To set up a worm bin, you will need a suitable container, bedding material, and a population of worms. The bin should be well-ventilated and have drainage holes to prevent moisture buildup.
What can I feed the worms in my worm bin?
You can feed worms a variety of organic food waste, such as fruit and vegetable scraps, coffee grounds, and shredded paper. Avoid feeding them meat, dairy, and oily foods.
How do I harvest vermicompost from the worm bin?
To harvest vermicompost, stop adding food to the bin for a few weeks to allow the worms to process the remaining waste. Then, remove the finished compost from the bottom of the bin.
What are some common issues in vermiculture and how can I prevent them?
Common issues in vermiculture include overfeeding, excessive moisture, and unpleasant odors. To prevent these issues, monitor the moisture level, avoid overfeeding, and provide proper ventilation for the worm bin.